Category: Blog

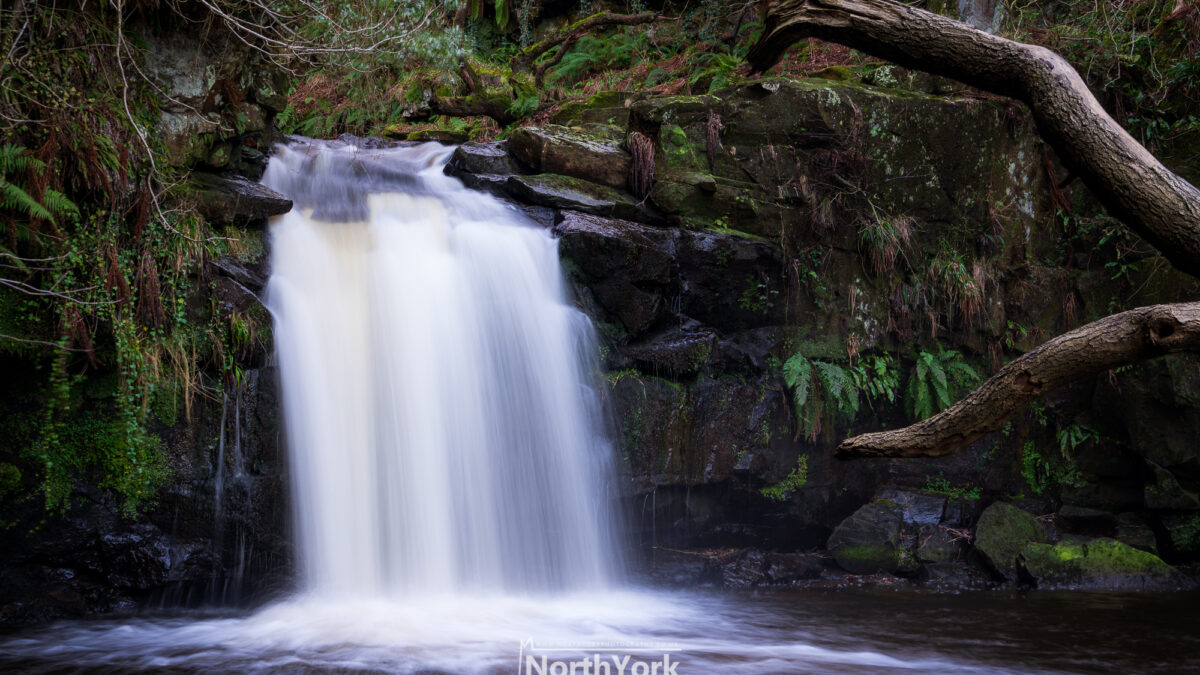
Thomason Foss Waterfall, Goathland

Waterfalls – A Landscape Photography Guide

Waterfalls are one of nature’s most mesmerising and captivating wonders. Photographing waterfalls can be a rewarding experience, but it requires a combination of technical skill and creative vision. In this step-by-step guide, we’ll walk you through the process of capturing stunning waterfall images, from choosing the right equipment to mastering the essential techniques.


Step 1: Plan Your Shoot

Before heading out to photograph waterfalls, it’s crucial to plan your shoot. Research potential locations, considering factors such as accessibility, weather conditions, and the best time of day for optimal lighting. Apps like PhotoPills or The Photographer’s Ephemeris can help you plan the perfect time to capture the waterfall in the best light.


Step 2: Gear Up

Equip yourself with the right gear for waterfall photography:

Camera: Use a DSLR or mirrorless camera with manual settings for better control over exposure.

Lenses: A wide-angle lens (e.g., 16-35mm) is ideal for capturing the entire waterfall and its surroundings. A telephoto lens (e.g., 70-200mm) can help you zoom in on specific details.

Tripod: Stability is key to long-exposure shots. Invest in a sturdy tripod to keep your camera steady during longer exposures.

Filters: Consider using a polarizer to reduce glare and enhance colours. A neutral density (ND) filter can help you achieve longer exposure times in bright conditions.


Step 3: Set Up Your Camera

Configure your camera settings for optimal waterfall photography:

Aperture: Choose a smaller aperture (higher f-stop, e.g., f/8 to f/16) for a larger depth of field, ensuring both the waterfall and surrounding landscape are in focus.

Shutter Speed: Use a slower shutter speed to capture the silky-smooth effect of flowing water. Start with shutter speeds around 1/4 to 1 second and adjust as needed.

ISO: Keep your ISO low (e.g., ISO 100 or 200) to maintain image quality and reduce noise.

Focus: Use manual focus to ensure precision. Focus on the waterfall or a specific point in the scene to create a sharp image.


Step 4: Compose Your Shot

Compose your photograph with attention to detail:

Framing: Look for natural frames, such as rocks or foliage, to add depth and context to your image.

Rule of Thirds: Position the waterfall and key elements along the gridlines or intersections of the rule of thirds for a balanced composition.

Perspectives: Experiment with different angles, including low angles or unique vantage points, to create visually interesting compositions.


Step 5: Long Exposure Techniques

To achieve the silky-smooth effect of flowing water, employ long-exposure techniques:

Use a remote shutter release or the camera’s built-in timer to reduce camera shake during the exposure.

Experiment with different shutter speeds, adjusting as needed to achieve the desired effect.

Be patient and take multiple shots to ensure you capture the perfect moment.


Step 6: Post-Processing

After capturing your waterfall images, enhance them through post-processing:

Adjust the white balance, contrast, and saturation to fine-tune the colors.

Sharpen the image selectively to enhance details.

Crop the image if necessary to improve the composition.


Photographing waterfalls is a blend of technical expertise and artistic vision. By planning your shoot, selecting the right gear, mastering camera settings, and applying creative composition techniques, you can capture the beauty and power of waterfalls in stunning photographs. So, grab your camera, explore nature’s wonders, and let the flowing water inspire your next masterpiece.

Home Printing vs Labs – The true cost of selling Landscape Photography Prints

So you’ve been to the lake district, the yorkshire dales, the north york moors or embarked on some epic landscape photography adventures across the world, and now you finally have a portfolio worthy of attracting a great number of admirers, some of which may wish to purchase such images. So, what is the best way to go about it?

In this guide I’m going to hopefully shed some light on the costs involved with starting out at selling landscape photography prints with the idea that it may help some of you with your decision.

Home printing

With this approach, you are responsible for purcahsing and maintaining the printer, ink and materials yourself. This is the preferred approach for most, here’s why:

Pro’s

  • Instant prints whenever you need them
  • Cheaper in the long-term
  • Can make fine adjustments on the spot

Con’s

  • Large upfront cost
  • Responsible for maintenance costs should things Go wrong
  • Can be tricky for non-tech-savvy persons

Cost Breakdown

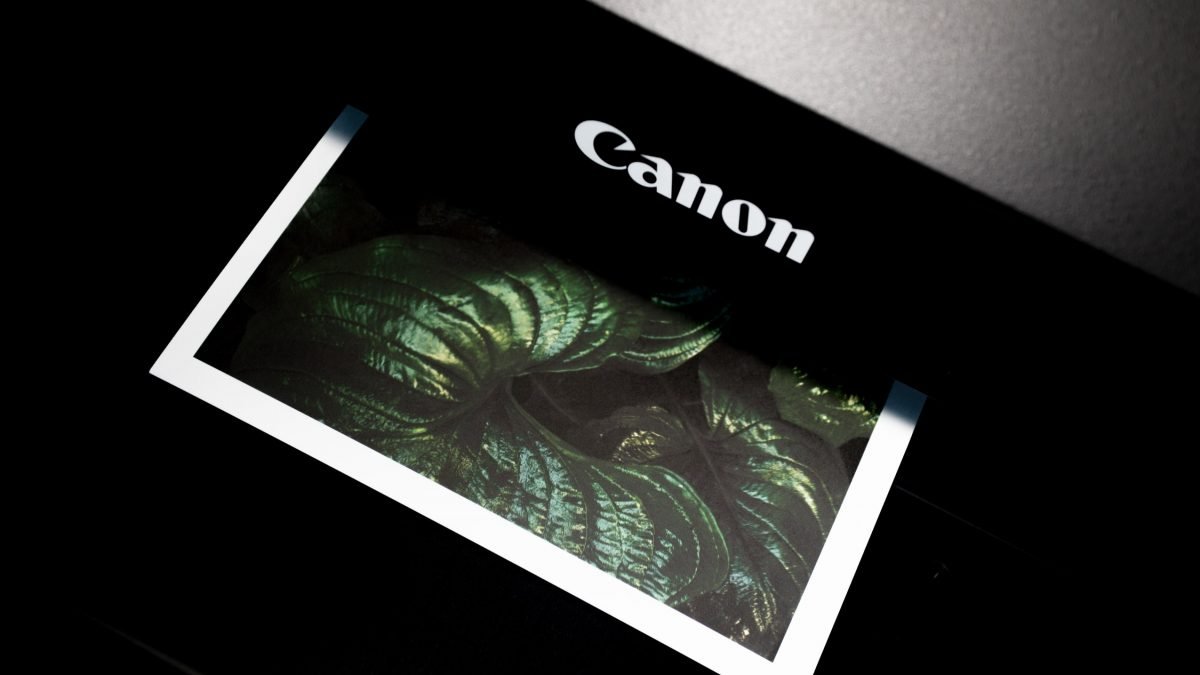
The most widely recommended printer in the community is the Canon imagePROGRAF PRO-1000. This puppy comes at a price, though, and can be intimidating for anyone new to the printing world. The cost breakdown for a simple setup of selling A3 and A4 prints is below:

  • Printer: £1,250
  • 25 x Canson Baryta Photografique paper (A2): £91
  • 25 x Canson Baryta Photografique paper (A3): £59
  • 25 x Canson Baryta Photografique paper (A4): £32

At those prices, once all 75 prints have been sold, you are loooking at a relative cost-per-print of a whopping £19.09.

Based on the average selling prices (A2 at £39.99, A3 at £29.99 and A4 at £19.99) – once all are sold they would bring in £2249.25 worth of sales – a profit of £817.25

Postage can be averaged out at £6.50 per-print which brings the total profit down to £379.25

If selling on a merchant such as Etsy, the fees and taxes would be around £3 per-print, bringing our total profit down to just £104.75 over the 75 prints

If we did the same experiment with only selling A4 size prints (allowing a postage cost of £3 and fees of £1.60 for the smaller size) then after selling 75 prints we would be making a loss of £159.75 overall. We’d therefore need to sell a lot more prints to break even.

Conclusion

Either you need to sell a lot of small prints, or a decent amount of large prints to break even. Once you have broken even, the profits will increase considerably (although ink and paper will need replacing, reducing profits slightly).

Using a Printing Lab

Using a printing lab means outsourcing all of you printing to a specialist with high-quality printing equipment that the hobbyist photographer could only dream of owning.

Pro’s

  • No upfront cost, order when needed
  • No maintenance costs
  • No expertise required. Simply submit the image and order.

Con’s

  • Delays from having the print sent to you first then sending to the buyer
  • Additional postage costs
  • More expensive in the long-term

Cost Breakdown

There are many labs to choose from, but I will single out two for a very good reason. The first is ThePrintSpace.co.uk and the second is Saal-Digital.co.uk.

The former being what I’d regard as the highest quality and best customer service, the latter being the cheapest whilst still being incredibly high quality. For this comparison I will be using Saal-Digital as the supplier.

As there is no upfront cost, we have 2 options. We can order from Saal-Digital on-demand when a prospective buyer completes a purchase, or we can take advantage of the multi-buy offers to stock up on prints ready for when sales take off.

With approach one, the cost of ordering an A4 print and having it shipped to us is £14.98. Include the cost of us shipping it to the buyer, plus fees and anything else, we end up making a loss of around £0.50p on each print sold at £19.99, or £37.50 overall on all 75 prints. This is clearly not a good strategy. Not to mention the delays from having to wait the the print to be shipped to us before shipping on to the buyer.

With approach two, we stock up and use the endless dfs-style promotions to reduce costs. Now, here’s where it gets interesting. Saal-Digital offer a £30 discount if you spend £85. Their A4 prints are priced at £6.69, which means, if we place 6 separate orders of 13 prints (78 in total) and apply the discount to each order, we will save £180 off the RRP of £521.82 and the relative cost per-print would be just £4.48 including delivery. 1/3rd of the price of ordering on-demand!

Selling at £19.99, we will bring in a total of £1559.22 in sales – minus, postage and cost of the prints would mean a total profit over the 78 prints of £850.61

Conclusion

By stocking up ahead of time and taking advantage of the promotions on offer, you can make a lot of profit with almost none of the hassle from owning a printer.

Which method should you use?

If you want full control over your prints, have money to absorb the upfront costs and plan on selling high-numbers of prints, then home printing is the option for you.

If however, you are unsure whether your prints will sell or don’t have the funds to gamble on buying a high-end printer, then utilising printing labs can be a worry-free way of turning a quick profit.